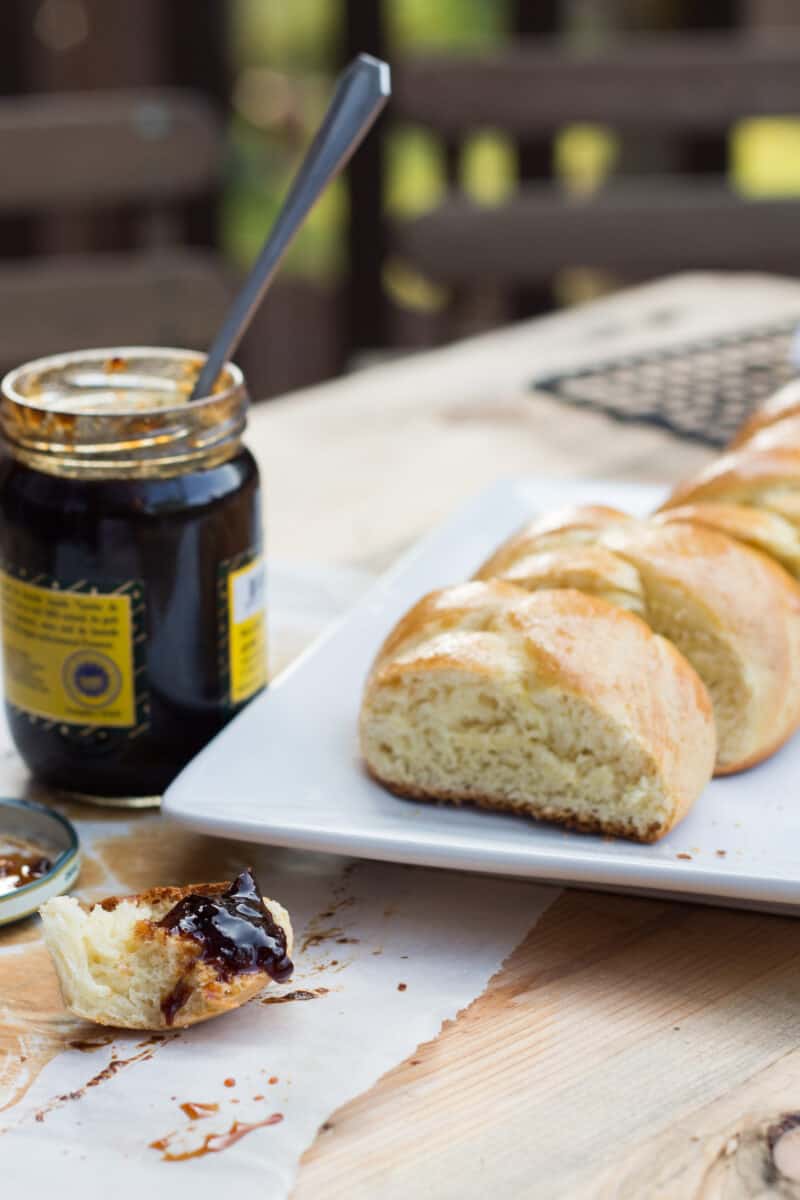
The sweet taste of the buttery pull-apart bread is so irresistible. You have one bite, you are still chewing that you go for the second bite already. That good. I love it for breakfast too, with some (more) butter spread on it and some fig jam from my Maman.
I would share the bread and I have, it was a success. I made some more. But the jam.... No no, not negotiable. It is gold and strategically portion until the next French visits and can get some more for me from my mom.
This brioche definitely reminds me of the 4pm snacks, also called le goûter. Eating it was so meaningless back then. Now, enjoying a slice of it brings me back so many souvenirs, so many childhood friends (Hi Julia!). There are tastes and smells that just transport you somewhere else. Isn't crazy? It's there but it's transparent and it has this power on you.
This is why I want my kids to remember some smells and tastes... My son started Junior Kindergarden Tuesday and I was so exited to prepare him some nice little lunches.
Guess what? He wants the simple and classic things, the easy and simple. I should feel lucky but I thought I would prepare some fancy lunch boxes. Maybe later, we are still on the 1st week.
Are you a mom? How is your adventure so far? Pretty crazy, eh? We are all learning and adapting. Motherhood is just the best adventure of one's life. Tiring too! Ahah.
Back to the recipe, it is not a spontaneous recipe since it requires some resting of the dough. I made some on the weekends and we enjoyed it for a few days. On the 4th day, it was starting to dry out a little and I made Pain perdu or French toast. WOW!
Try it. Amazing way to start your day!
All the efforts are worth it. Waking up at 6am to a nice fresh buttery brioche is motivating, a pleasure.... LET'S BE REAL HERE. The brioche is delish but at 10am. There, seems more honest. Ahah!
Come on.
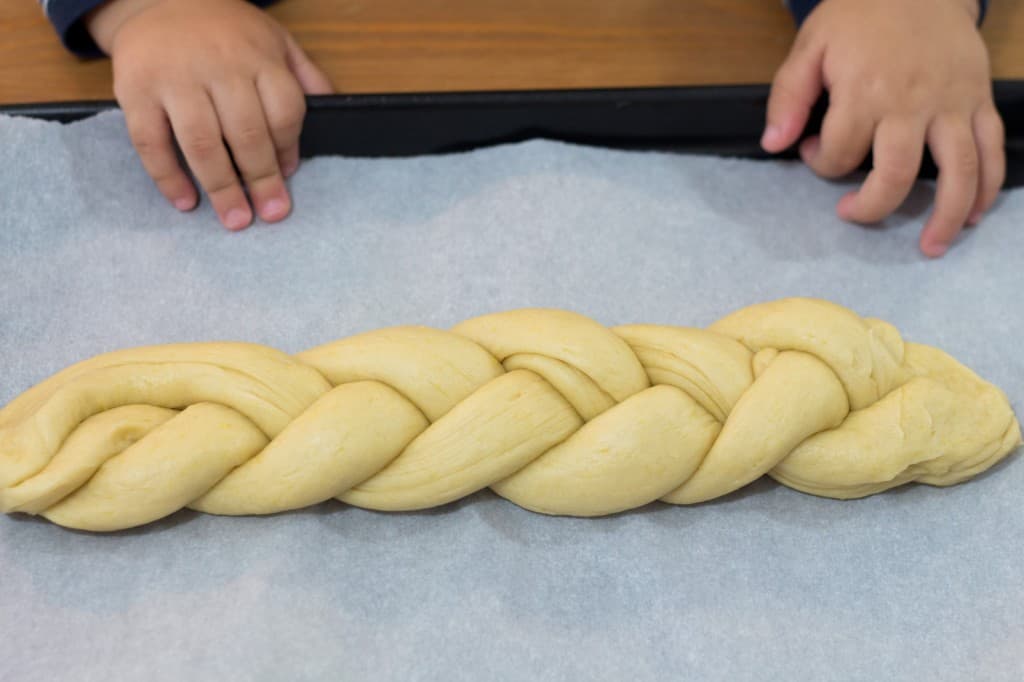
See those little impatient hands... My little princess knew what was coming up.
French Braided Brioche Bread
Ingredients
For the 1st step
- 150 ml milk
- 150 g flour
- 8 g yeast
For the 2nd step - 12 hours later
- 3 egg yolks
- 1 tablespoon vanilla extract
- 70 g butter ¾ of a cup, soften
- 100 g sugar
- 250 g flour 2 full cups
- 8 g yeast
For the egg wash:
- 1 egg yolk
- 1 tablespoon milk
Instructions
- For the 1st step
- Place the milk, the flour and the yeast in the bowl, mix it well. Set aside for 12 hours at room temperature.
- For the 2nd step, 12 hours later
- In the bowl where there is your preparation, add the egg yolks, the vanilla, the butter and the sugar, mix well.
- Add the yeast and gradually add the flour. It should start to form a dough, a little sticky at first.
- Knead the dough for 10-16 minutes.
- Take the dough, separate it in 2 equal balls.
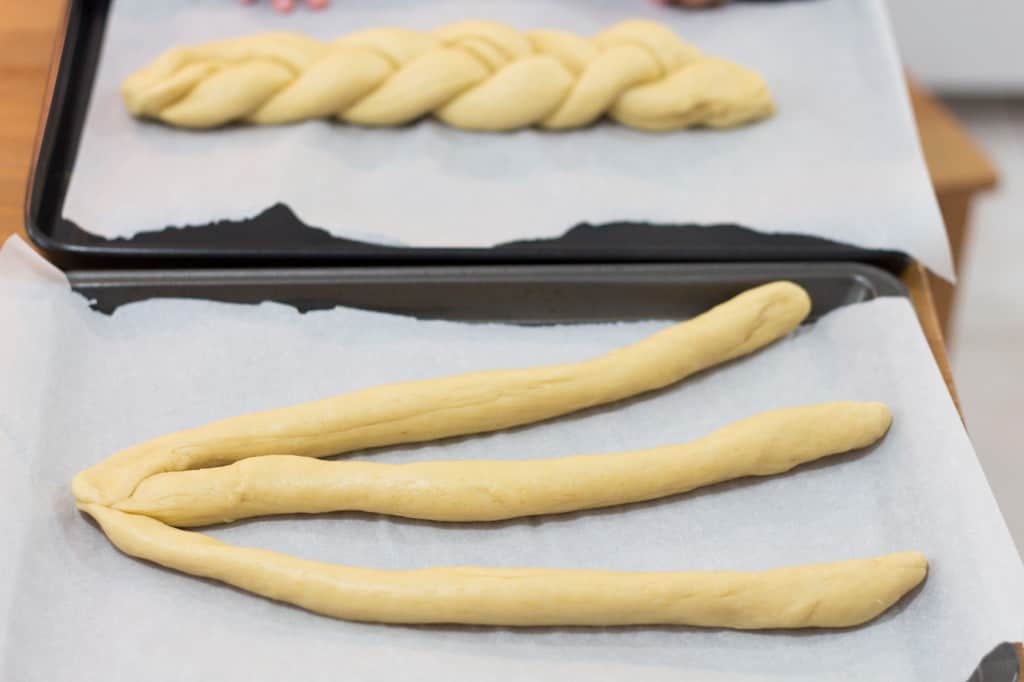
- From each ball, divide it in 3 parts and make rolls to braid them.
- Once you have braided both your dough, let them rest for 1h30minutes.
- For the egg wash:
- Take the egg yolk and the milk and stir well.
- With a brush, apply some on each braid.
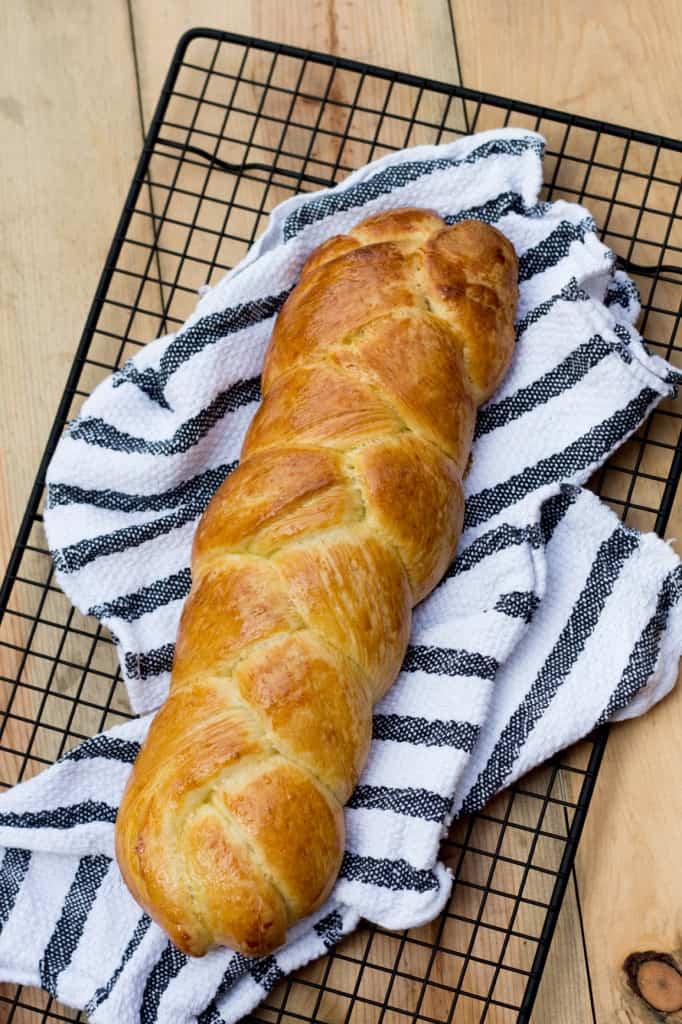
- Place in the oven at 360F for 20 minutes or until your brioches are golden.


kitchenr jon says
Wow, that's a beautiful brioche! And your child is so lucky to eat so well at school. Our oldest just started senior kindergarten and is loving being back at school. It's really great being able to pack lunches full of delicious homemade food, although at times it does get a bit tiring. That's why we are glad he likes helping make the lunches, so hopefully in a year or two he can do it all on his own.
Mélanie says
Thank you Jon, M. is not eating all his lunch I'm preparing but we'll get there. How old are your boys? I'm looking forward for M. to prepare it alone ahaha. Poor thing, he just entered JK.
Our Fresh Kitchen says
This looks absolutely delicious. It's a must try in my kitchen. You made me crave for some bread.
Sarah | (Cooking for) Kiwi & Bean says
Looks beautiful, and delish! My poor son is allergic to wheat, and just looking at a picture of this bread makes me sad for him...because bread is THE. BEST. Oy. Great to find out about your blog via FBC! Cheers!
Mélanie says
Oh no Sarah, I am so sorry to hear that. Given your blog, I gather that you are talented and able to make delicious recipe nonetheless!
Swati says
That's a beautiful brioche! My daughter is a big fan of home baked breads and bet she would love this too. Goes on my baking list for this week. Glad to have found your blog via FBC☺
Mélanie says
Thank you so much Swati! Your daughter will love it!
Melissa says
oh i have a weakness for brioche... just reading this made my mouth water. I could literally eat a whole loaf in one sitting - with butter of course!
Mélanie says
Ahh just found your message in spam Melissa, sorry for that! Thank you so much for stopping by :)
Lisa @ Food Well Said says
Gorgeous! Brioche (well most bread making in general) scares me but may have to add this to our Thanksgiving breakfast menu!
Mélanie says
Thank you Lisa, let me know once you have tried it! You'll love it!
Candice Wingerter says
Great photos Melanie!! The bread looks just delicious!!
Mélanie says
Thank you Candice!
Liliana says
Looks lovely! Although my daughters are young women now, I am sure they will come over for brioche.
Mélanie says
For sure, there are no age for nice treats Liliana :)
Helen @ Scrummy Lane says
Hi, Melanie! Brioche is one of my favourite breads ... freshly homemade must be beyond delicious at any time!
Mélanie says
Thank you Helen, it was a big hit in my house and my in-laws too!