French Almond Tuiles are light and delicate with cookie-like texture, shaped over a rolling pin for pretty visual effect! The sliced almonds provide extra flavour and texture to these irresistible French treats. Tuiles look fancy and are made to impress: with little preparation and baking it time, they are a quick and easy cookie to prepare.
Get creative and add some sweetened shredded coconut with the slivered almonds before baking the tuiles or sprinkle some powdered sugar over the tuiles once they have cooled for extra sweetness. Serve these crunchy tuiles for holidays or to add a touch of sophistication to desserts such as mousses, custards, or ice cream. Almond tuiles are also the perfect hostess gift.
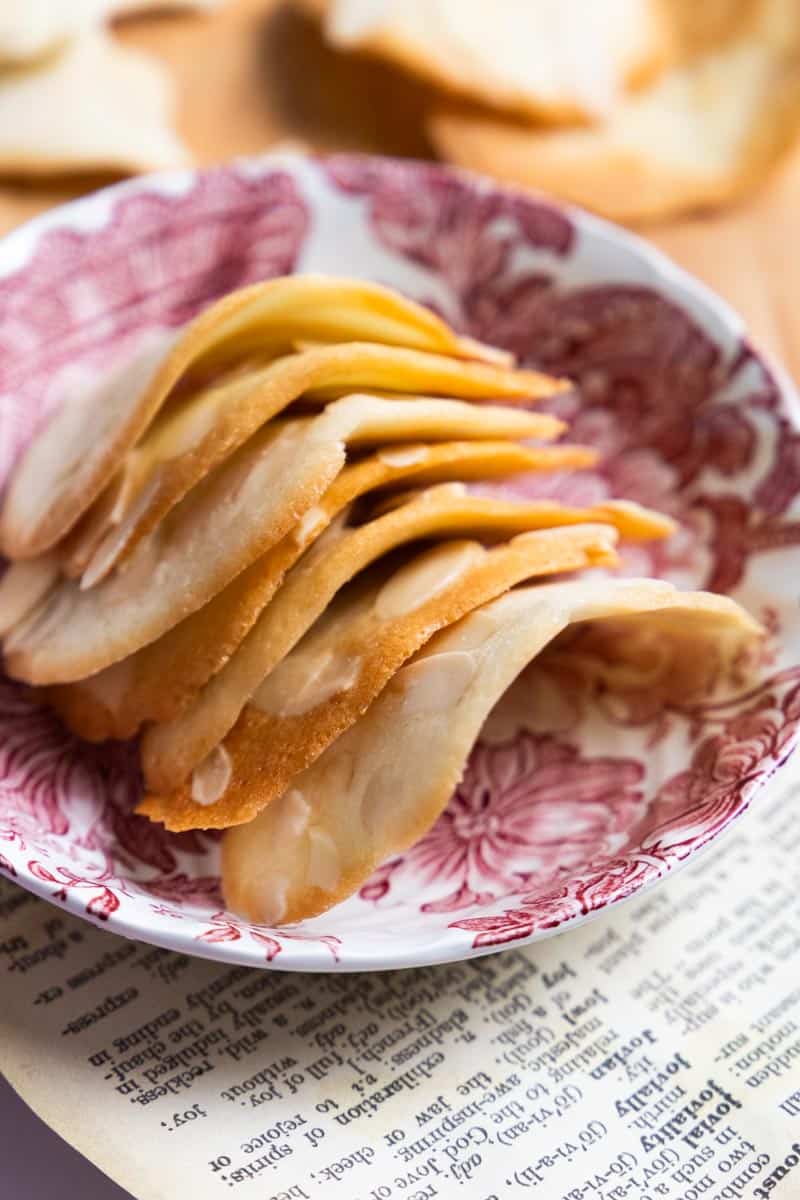
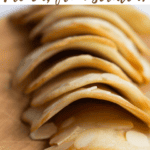
While I love the slight curved shape, chips-shape, created by placing the warm baked tuiles over a rolling pin, you can easily adapt the shape by pressing the tuiles into specific molds. This would be great for creating edible cookie bowls that can then make a dessert bite ingredients, such as Dulce De Leche Mousse, whipped cream with fresh fruit, or ice cream.
If you love yummy almond desserts, be sure to try this Best Flourless Almond Cake, Mini Pear Tart Almondine, or Banana Pie With Almond Cream.
Jump to:
⭐ Why you will love these almond tuiles
- It’s the perfect garnish to elevate a simple bowl of ice cream or a mousse or to be shaped into edible bowls or tubes and filled with whipped cream.
- These French almond tuiles are made with just 5 ingredients!
- Serve these crispy French almond tuiles for special occasions like Christmas or other holidays.
- Great as an edible gift.
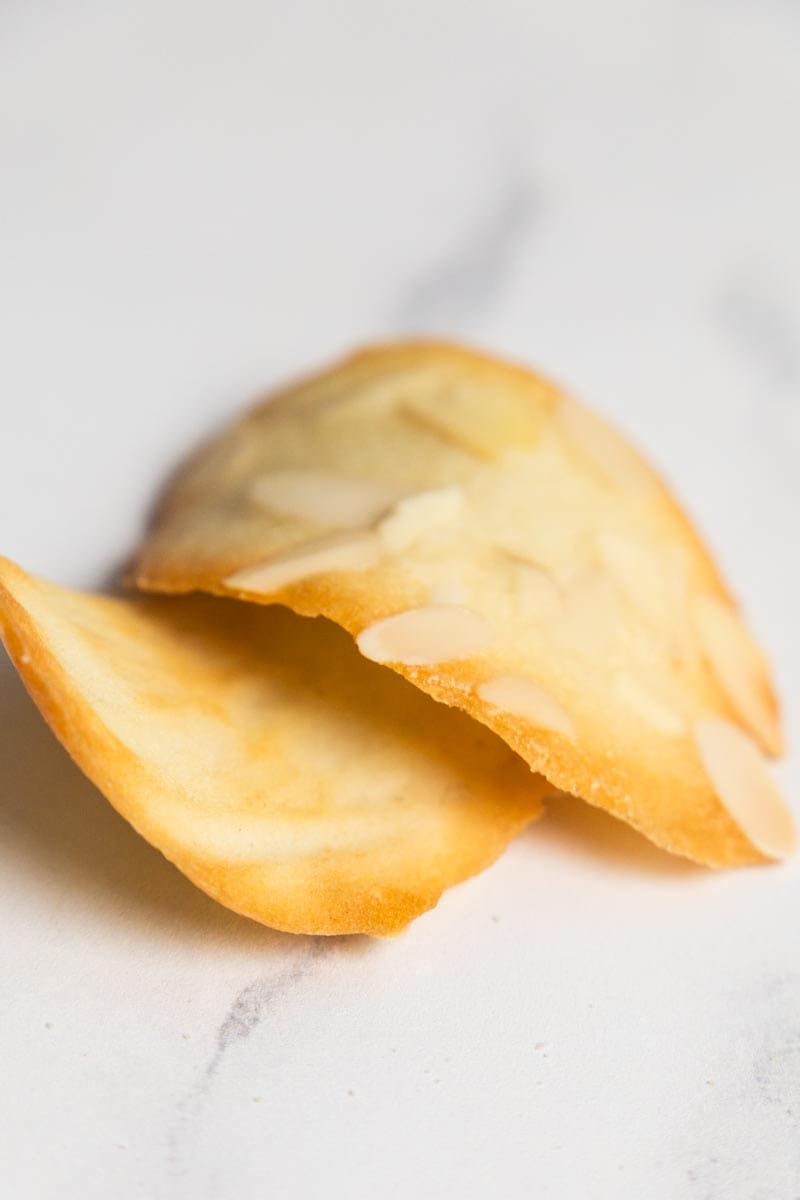
🥣 Ingredients You’ll Need
These delicate almond tuiles are the perfect bite and so easy to prepare with simple ingredients you most like have. Here is what you’ll need to get started:
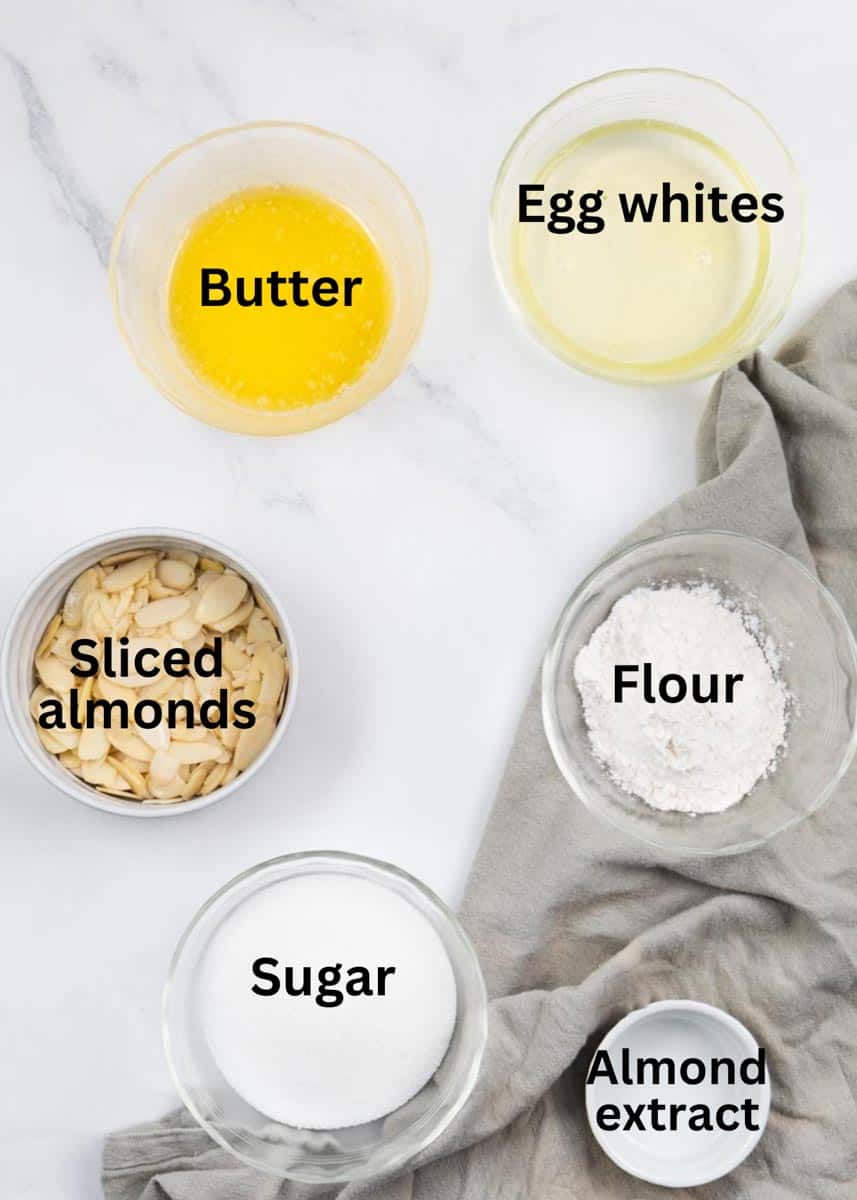
- Egg whites - room temperature
- Sugar - Granulated sugar is best.
- Melted butter - Unsalted butter is best for flavour and to control the salt content. Allow the melted butter to slightly before combining with the flour.
- Flour - All-purpose or your preferred type of flour.
- Slivered almonds - Flaked almonds or sliced almonds can be used instead.
- Almond extract to enhance the flavour.
In terms of equipment, it is very minimal. You will need:
- a medium size bowl for the preparation
- a whisk
- a baking tray
- a teaspoon
That is all!
📋 Variations
Looking for ways to adapt this French almond tuiles recipe? I’ve got you covered:
- Size: Make mini French almond tuiles by reducing the tuile piles on the baking sheet. You may need to adjust the baking time if you reduce the size of these tuiles. Keep a watch that they don’t burn. Or make them bigger to shape them as a bowl using a muffin pan once they come out.
- Shape: These tuiles can easily take on a different shape but gently fitting them into different molds that are bowl-shaped to hold ice cream or other fillings.
- Garnish: Powdered sugar can be lightly dusted over the shaped and cooled tuiles for added sweetness.
- Topping add-ons: Consider sprinkling unsweetened shredded coconut over the spread tuile mixture in addition to the sliced almonds for a fun twist or drizzle some salted caramel or melted dark chocolate.
- Flavour: Vanilla extract can be added for extra flavour or orange blossom for a little twist.
🥣 Instructions
First, preheat the oven. Next, melt the butter and set aside for it to cool slightly.
Then, whisk the egg whites with the sugar without beating it white (picture 1). Next, add the flour and melted butter (picture 2).
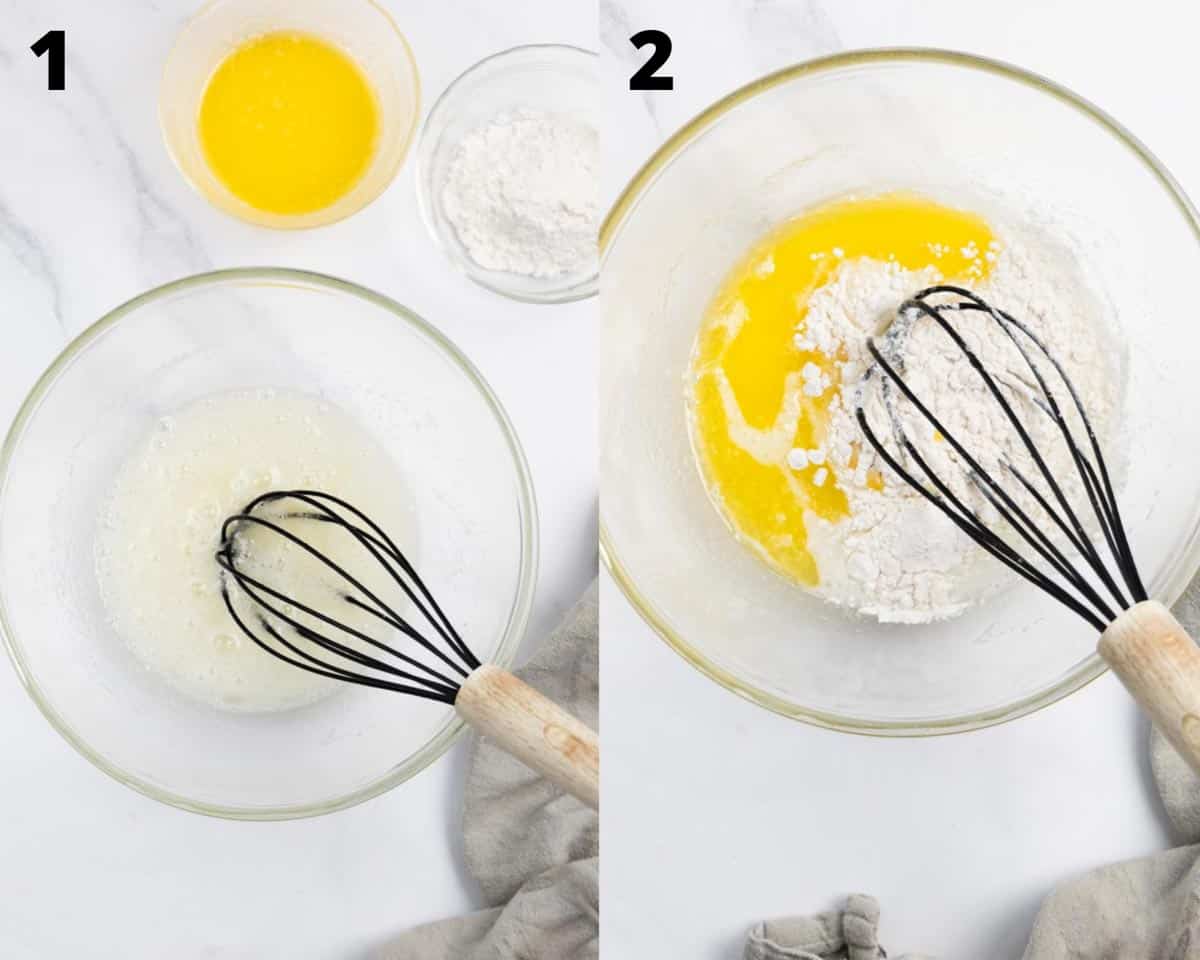
Tip: While the butter must be melted, it must not be hot or it can cause the tuiles to spread too much while baking.
Mix all ingredients until well incorporated (picture 3). Now, on a baking sheet lined with parchment paper, add a teaspoon of the tuile mixture and spread it with the back of the spoon evenly. Sprinkle with the slivered almonds (picture 4).
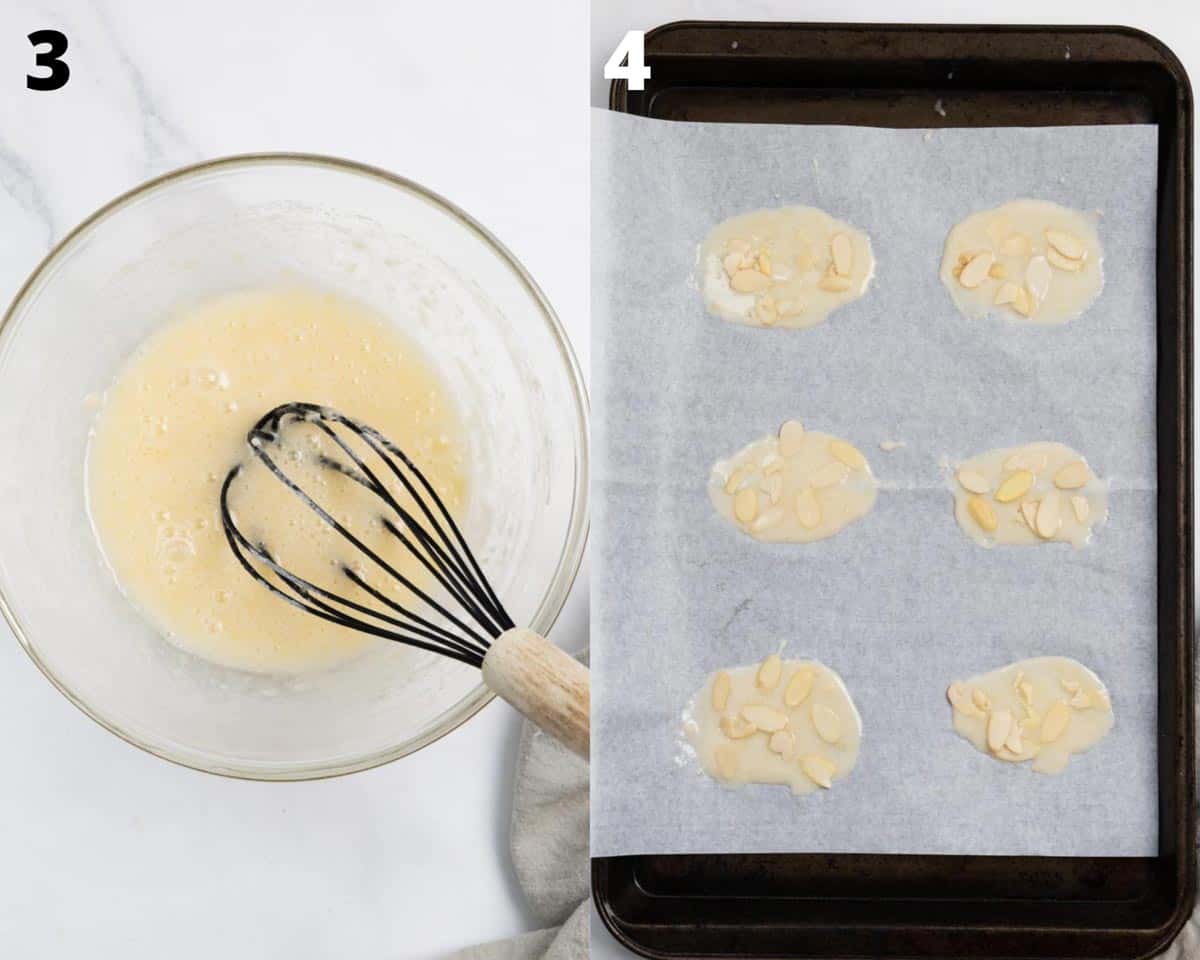
Tip: Allow a good amount of space between the piles of tuile mixture as they need to be spread out and will also spread more while baking.
Next, bake the almond tuiles for 10 minutes or until the edges are golden.
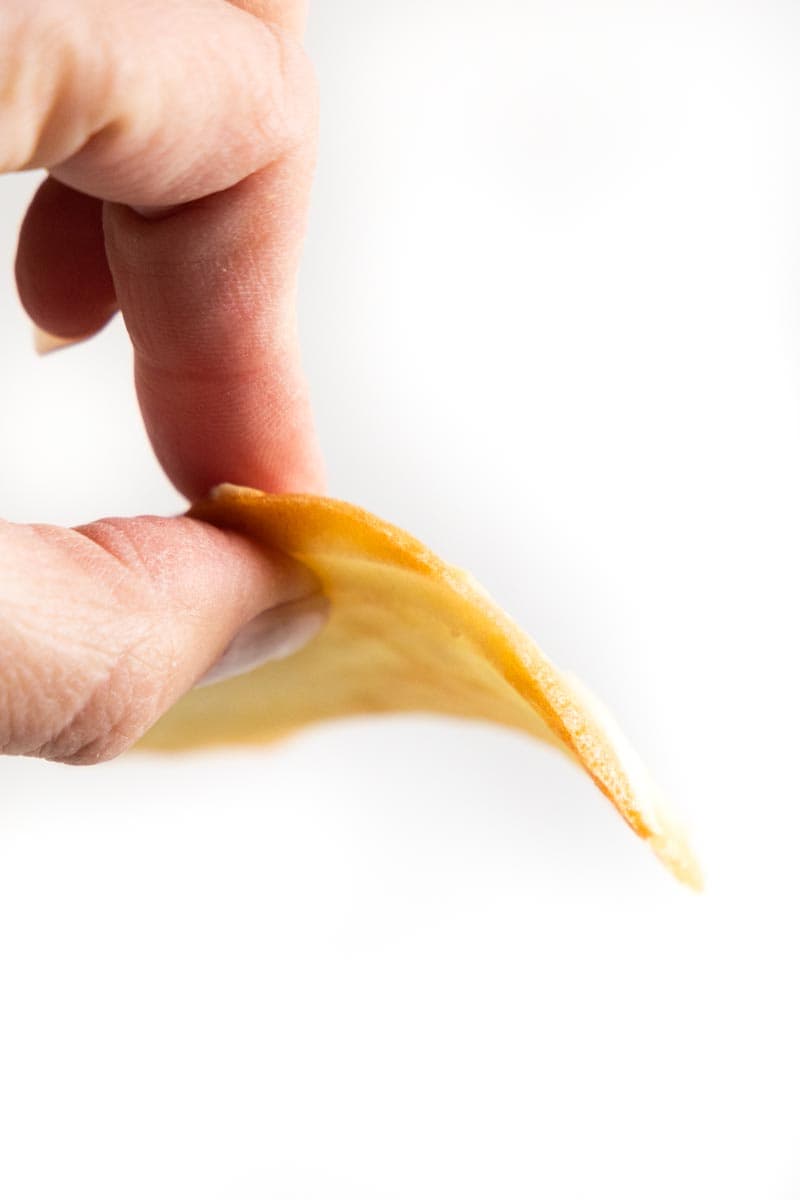
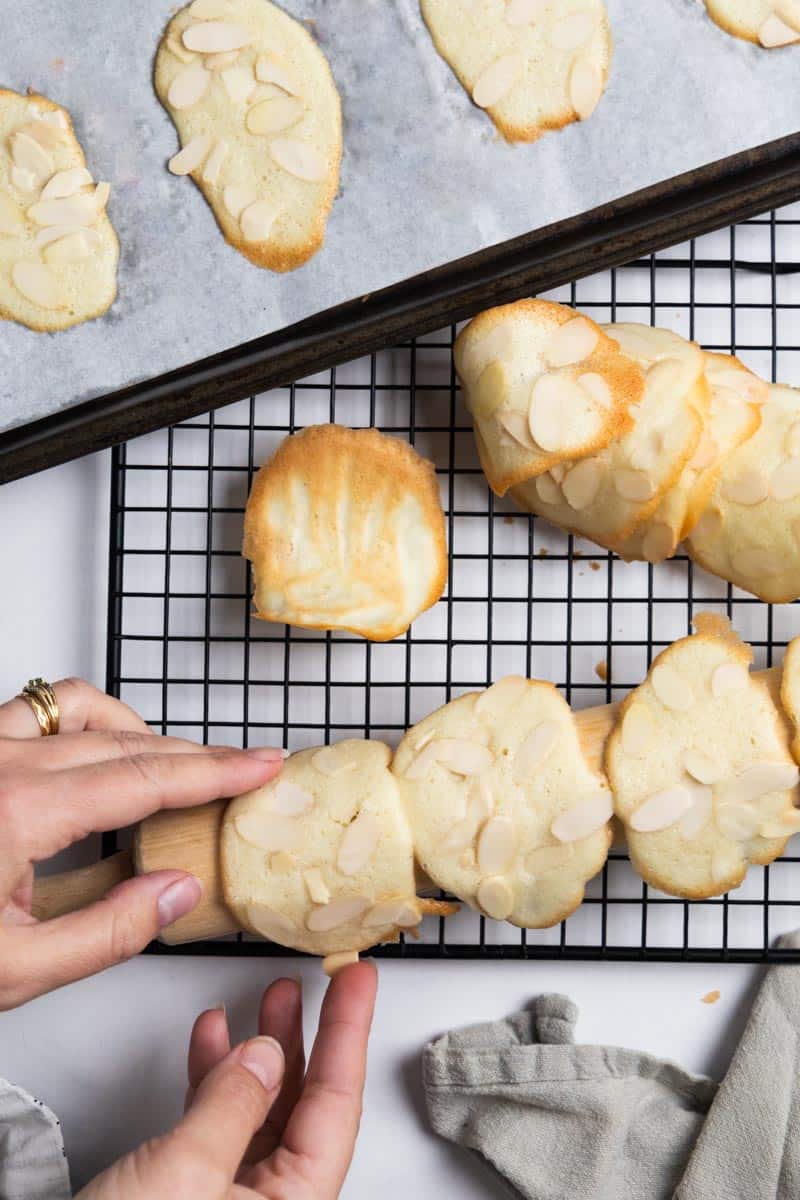
Then, once baked, immediately place the tuiles on a rolling pin so that they take on a rounded shape as they cool. Handle the warm tuiles gently to avoid them breaking (see picture below).
💭 Recipe FAQs
It’s possible that you haven’t spread the tuile mixture thin enough on the baking sheet before baking if they are chewy instead of crispy. If this happens, return them to the oven for a few minutes extra. Keep a close watch so that the tuiles don’t burn.
Store your baked and cooled tuiles in an airtight container at room temperature and away from any sources of heat or humidity. I don’t recommend storing the tuiles in the fridge as the condensation can make them soggy.
Tuile is the French word for tile. It resembles the shape of roof tiles with a slight arch. They are commonly enjoyed as garnishes for desserts, such as mousse, or used as edible cups to hold sorbet or ice cream.
When stored correctly, tuiles can last for up to 3-4 days. If you intend to fill your tuiles with pastry cream, fruit, or mousse, only do so just before serving to prevent the tuiles from softening from the added moisture.

🥄 Other Delicious French Sweets
📖 French Almond Tuiles
Equipment
- 1 Whisk
Ingredients
- ½ cup granulated sugar
- 2 tablespoons butter, melted cooled down
- ⅓ cup flour
- 3 egg whites
- ½ cup sliced almonds
- 1 teaspoon almond extract
Instructions
- Preheat the oven at 325F.
- Melt the butter in the microwave (small increment of 10 seconds) and set aside.
- In a bowl, whisk together the sugar and egg whites without bringing them to be beaten white, just until it is foamy.
- Add flour, almond extract and melted butter (cooled down). Stir well until well incorporated.
- On an oven tray lined with baking paper, with a teaspoon scoop some of mix and spread it thinly to form an oval.
- Sprinkle with the thinly sliced almonds.
- Bake for 11-12 minutes or until the borders are golden. Have a rolling pin or bottle ready when it comes out of the oven. As soon as it is out, while still warm, delicately take the tuile and place it on the rolling pin until it cools down so it takes the round shape.
Notes
- Store in a container for more freshness for 2 days.
- Cool down the butter, do not skip this step, otherwise it will change the texture.
- If your tuile is not crunchy, it was either to thick or not bake long enough.






Leave a Reply